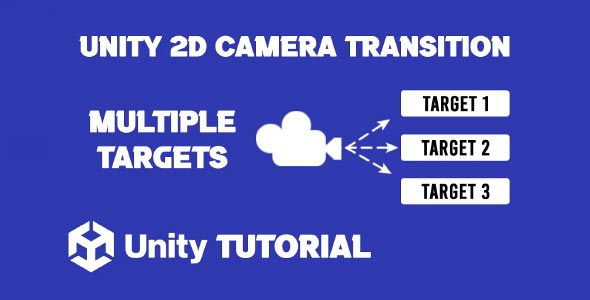
In this Unity 2D camera transition tutorial, you’ll learn how to create smooth, dynamic transitions between different camera views in a game. Camera transitions are a key part of making gameplay feel more polished and engaging, especially when your scenes involve multiple focus points, rooms, or gameplay zones. By learning how to manage these transitions correctly, you can guide the player’s attention and enhance the overall experience of your game.
Camera Transition Unity 2D
Creating a camera transition Unity 2D setup can be achieved through Unity’s built-in tools, most notably Cinemachine. This powerful package allows you to set up multiple virtual cameras and define how the main camera blends between them. Instead of jumping sharply from one view to another, you can create smooth pans, zooms, or fades that feel natural and intuitive.
For example, you might want to shift the camera to a new area when the player enters a specific zone. With Cinemachine, this can be done without complex scripts, using virtual cameras and simple triggers. This flexibility is ideal for 2D games that involve puzzle-solving, platforming, or exploration.
How To Add Camera Transition In Unity
To understand how to add camera transition in Unity, start by setting up at least two virtual cameras using Cinemachine. Each camera can be positioned in a different area of your scene or set to follow different targets. You’ll then use Unity’s timeline or transition settings to control how the active camera changes during gameplay.
You can customize the transition duration and style—such as linear, ease-in-out, or cut—depending on the effect you’re aiming for. This helps guide players smoothly from one gameplay moment to the next without breaking immersion.
Conclusion
In any 2D game, the camera plays a critical role in delivering the right mood and gameplay flow. A well-designed camera transition Unity 2D system helps ensure the player always sees what matters most at the right time. Whether you’re revealing a new area, switching focus to a cutscene, or emphasizing an objective, smooth camera transitions make your game feel more professional.
By following this Unity 2D camera transition tutorial, you’ll be able to set up visually appealing and functional camera movements using Unity’s tools—no advanced coding required. Take the time to experiment and find what works best for your game’s pacing and tone.
Script: CameraTransition.cs
using UnityEngine;

public class CameraTransition : MonoBehaviour
{
    public Transform[] targets; // Array of targets to transition between
    public float transitionSpeed = 1f; // Speed of the transition
    private Transform currentTarget; // Current target for the camera

    void Start()
    {
        if (targets.Length > 0)
        {
            currentTarget = targets[0]; // Set initial target
        }
    }

    void LateUpdate()
    {
        if (currentTarget != null)
        {
            // Smoothly move the camera towards the current target position
            Vector3 targetPosition = currentTarget.position;
            transform.position = Vector3.Lerp(transform.position, targetPosition, transitionSpeed * Time.deltaTime);
        }
    }

    public void ChangeTarget(int index)
    {
        if (index >= 0 && index < targets.Length)
        {
            currentTarget = targets[index]; // Change the current target
        }
        else
        {
            Debug.LogWarning("Target index out of bounds.");
        }
    }
}
Smooth camera transitions can greatly enhance the flow and feel of your 2D game, especially when switching between scenes or focusing on different areas of your level. However, to maintain a polished experience, it’s also important to ensure the camera stays within the intended play area. If you haven’t already set that up, check out this Camera Bounds Unity 2D tutorial to learn how to keep your camera movement properly restricted within your game world.


